Upload the image file. Adjust the available settings for the tool.
JPG / PNG / WebP / GIF supported
What this tool does
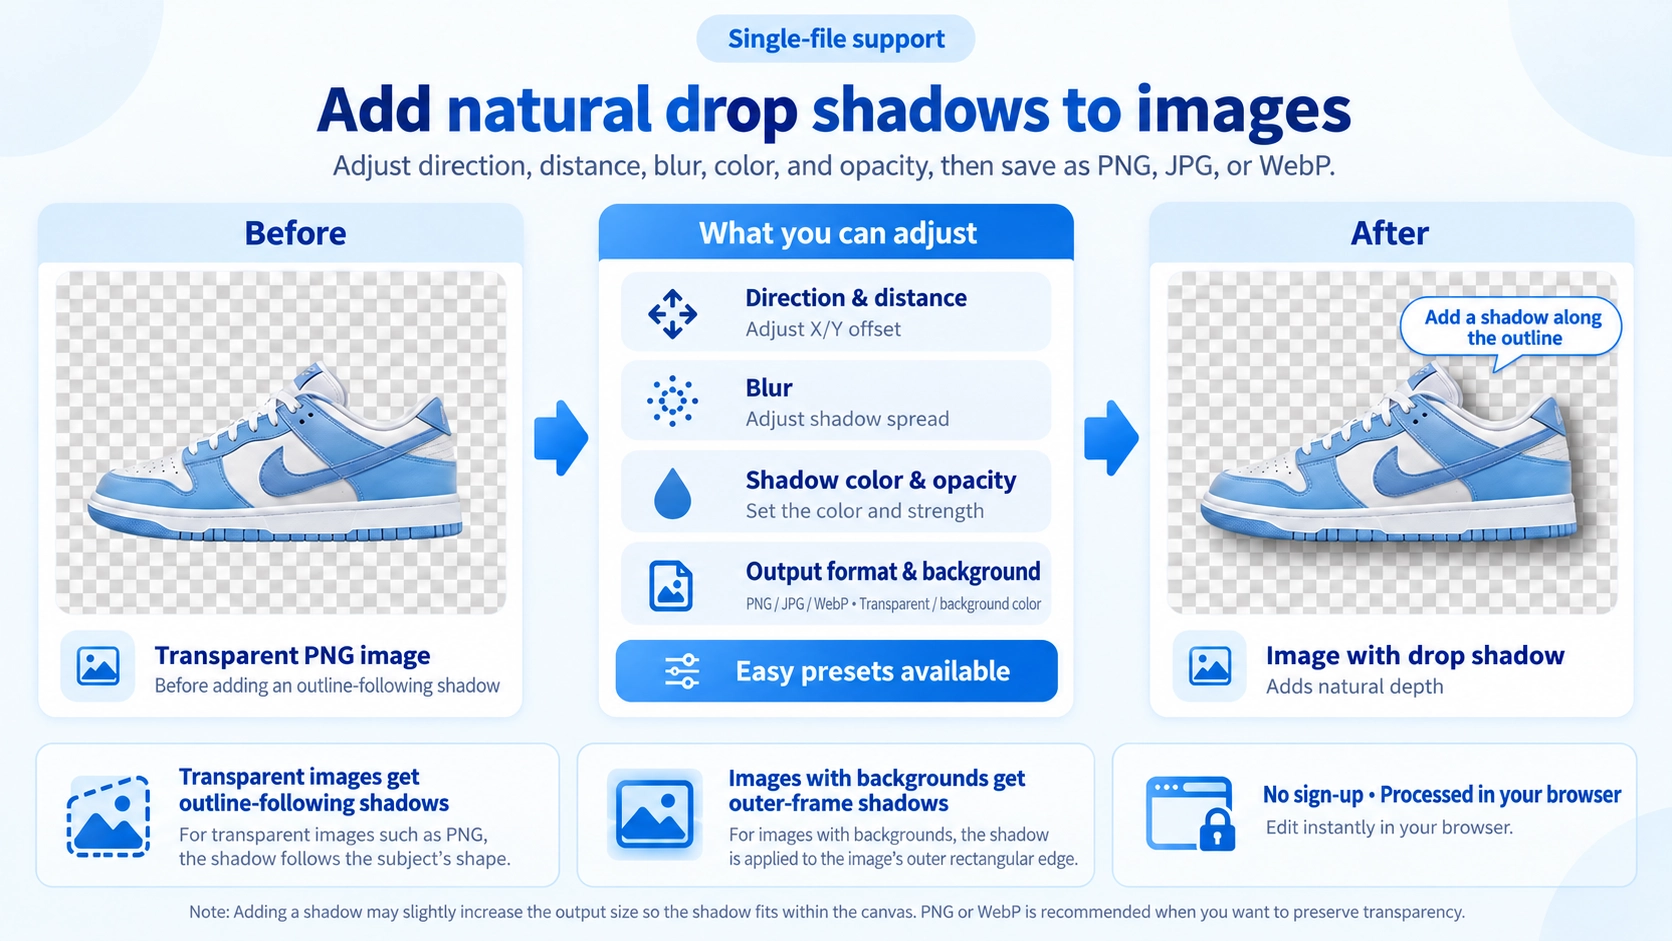
Add a drop shadow to an image using six presets or custom distance, direction, blur, color, and opacity settings.
How to use it
- Upload an image and select a shadow preset or customize the settings.
- Adjust shadow position, blur, color, and opacity.
- Choose the canvas background and output format.
- Check the preview and click “Output” to save the image.
Supported input and notes
Overly strong shadows can make an image feel heavy. Adjust distance, blur, opacity, and color while checking contrast against the background.
When it is useful
Useful for adding depth to cut-out product images and interface or marketing graphics.
Shadow Position Changes the Depth
Moving a shadow down and right can make the image appear raised, while moving it up or left changes the apparent light direction. Horizontal and vertical offsets control where the shadow falls.
Blur Changes the Shadow Style
Low Blur
Creates a sharper shadow edge that makes the boundary more pronounced.
High Blur
Spreads the shadow and softens its edge for a more natural floating effect.
The Overall Image Size Expands for the Shadow
The output area grows so the shadow is not clipped outside the image. The original image itself is not stretched; extra space is added around it for the shadow.
Transparency Depends on the Output Format
Use PNG or WebP when you want to keep a transparent background behind the shadow. JPG cannot preserve transparency.
Color and Opacity Affect the Finish
A darker shadow makes the edge more noticeable, while a lighter or more transparent shadow blends into the background more gently.
FAQ
Is the original image itself enlarged?
No. The output area expands around the image so the shadow has room to appear.
Can the shadow go left or upward?
Yes. Change the horizontal and vertical offsets to move the shadow in those directions.
Can I save as PNG, JPG, or WebP?
Yes. Use PNG or WebP if you need to preserve transparency.